Monday, May 4, 2015

For Mom: A Mother's Day Gift Guide...

Mother's Day is coming up, and in anticipation I have a few special posts for you guys that will touch on the subject of Motherhood throughout the week. Although I am not a mother myself, I have a lot of experience in the gift giving category as an aunt, sister, friend and daughter. I feel like even if you are shopping for a new mom, it is important to keep mom in mind and not be tempted to shop for the baby. I am all about anything that is going to pamper, or encourage 'me' time. I also like to buy things that might be considered splurges for everyday, but are totally manageable on their own as a gift. The above gift guide is full of things that in my opinion improve quality of life. Everything represented goes a little deeper than the object itself it's an experience, a memory, a scent, that is sure to tell mom to relax and enjoy the day. 


1. Capri Blue Constellation Candle — these candles have a long burn time and smell up the whole room, or bathroom ;)

2. Artemis Hair Pin — jewelry is always a good idea, but I am in love with this amazing hair pin. So unique!

3. Ceramic Carved Planter — I never buy ceramics for myself, which is exactly why I fee like they make the perfect gift. These beauties are by a local Denver maker, Veak Ceramics. Add a succulent or cacti for that extra something.

4. Jurlique Hand Cream — I gave all the moms in my life hand cream last year. It's such a simple luxury, but also so important. The rose scent is my favorite!

5. Artifact Uprising Photobook — or any of the AU products. They are are also a LOCAL company {Denver shout out} and I love their philosophy that is "inspired by the disappearing beauty of the tangible." If you haven't heard of them I strongly encourage you to check them out!

Monday, April 20, 2015

MAKE: Calendula Oil + {VIDEO}


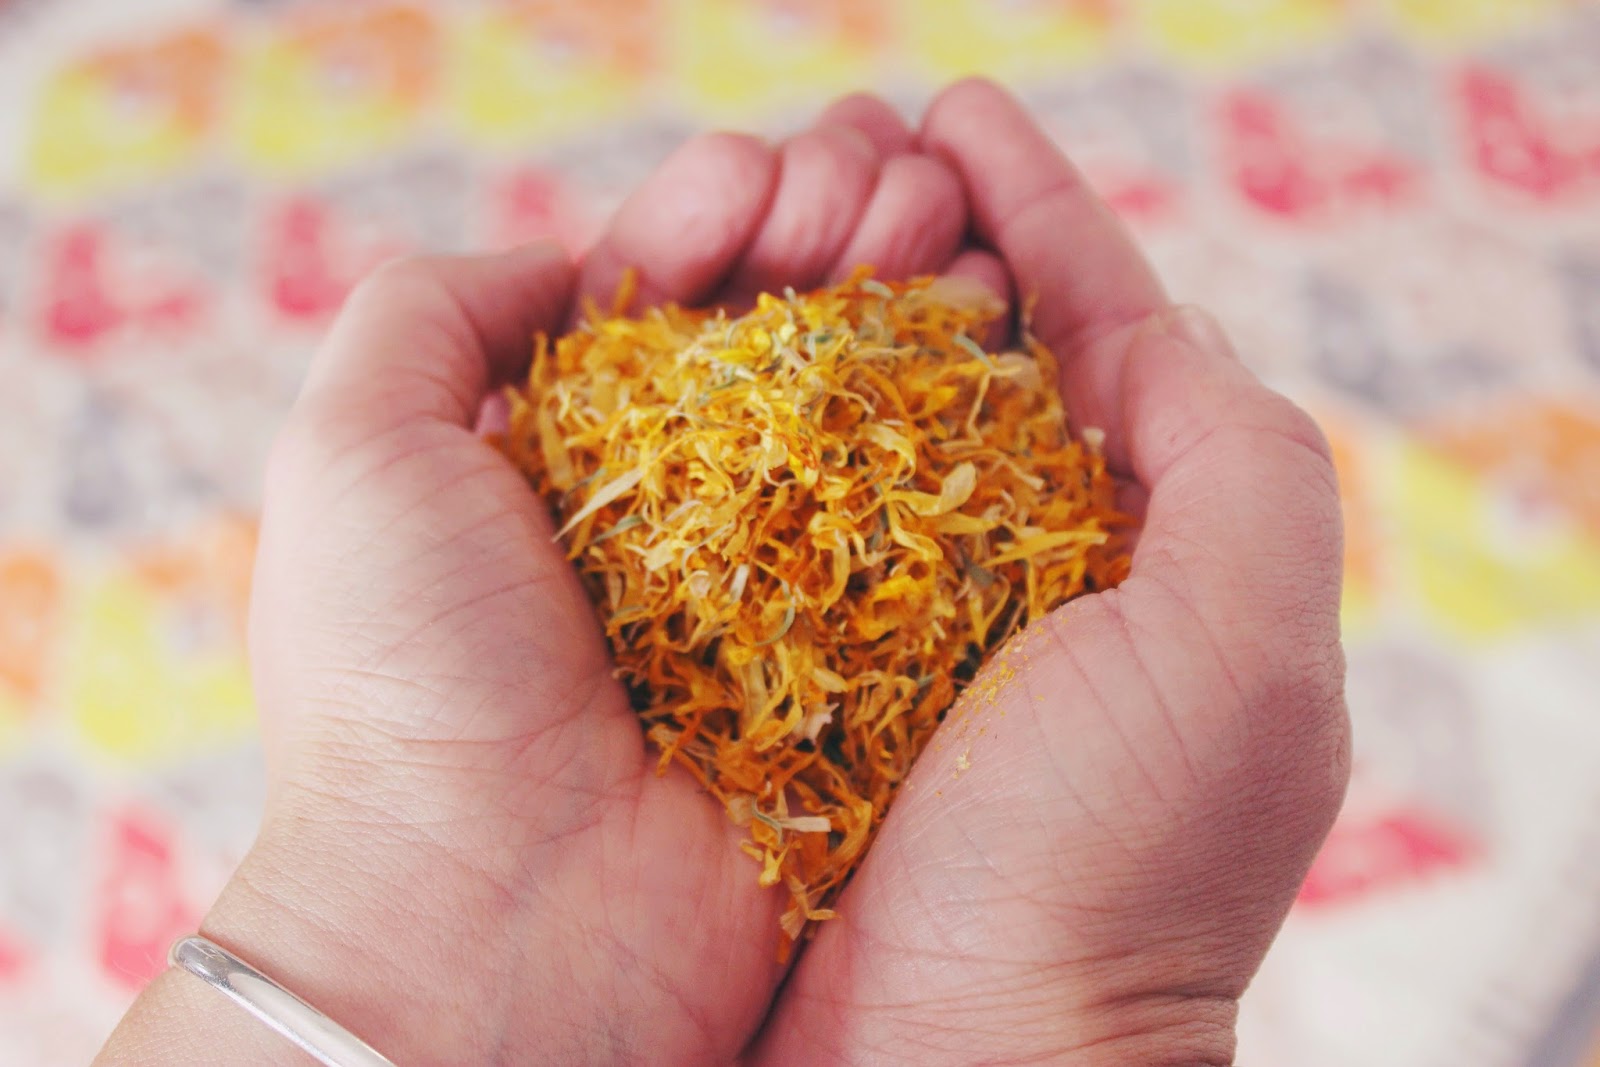
Ever since this day last summer, I've been more and more interested in learning how to use natural ingredients and herbs to treat everyday ailments. Living in Colorado, dry skin is most certainly a condition that plagues me on the regular. So I did a little research and noticed that this little yellow flower kept popping up. Calendula, also called pot marigold, or just marigold, is seriously a wonder flower! Its culinary and medical usefulness is so vast that it seems like it might cure anything. One of the most common uses for this beautiful golden herb is in natural skincare recipes. Calendula is known to display regenerative properties, as well as anti-fungal, antimicrobial, anti-inflammatory qualities. It is used to remedy common skincare problems such as acne and Eczema and even aids in the treatment of sprains, bruises, and snake bites!

I chose to infuse my oil using the 'solar method', which basically means I let the sun and time do all the work by placing it on my windowsill for about 4 weeks. The "recipe" is very straight forward and only requires two ingredients and a jar. It's not an exact measurement so don't worry about being too precise. All you need is...

+ Dried Calendula petals

+ Carrier Oil (any carrier oil will do, I used Olive Oil)

+ Clean glass jar

MAKE: 
Fill a clean & dry jar with the Calendula petals. About two handfuls or halfway will do.
Top the jar off with your carrier oil.
Secure the lid and place it in a warm sunny place for around a month.
Every now and then give the jar a shake.
After 4 weeks or so, remove the oil from window.
Strain your oil with cheesecloth or a tea sieve.
Label & store in a cool, shady place.

Your oil will stay good for about a year, but the sooner you use it the better and the more beneficial. This oil can be used alone or combined with other ingredients and essential oils to make lotions or salves. It's fun to play around and experiment with your own personal homemade recipes! Here are a few to get you started:

Lavender and Calendula Healing Hand Salve by Hello Natural

Homemade Neosporin by Live Simply

Making Calendula Sunshine Cold Pressed Soap by Soap Queen


You can harvest and dry your own Calendula, or you can do what I did and get it from a local apothecary shop. They also sell dry herbs in bulk at many health food stores or you can find them online.

Wednesday, April 15, 2015

Wandering Wednesday: Golden Gate Canyon State Park, Yurt Life...


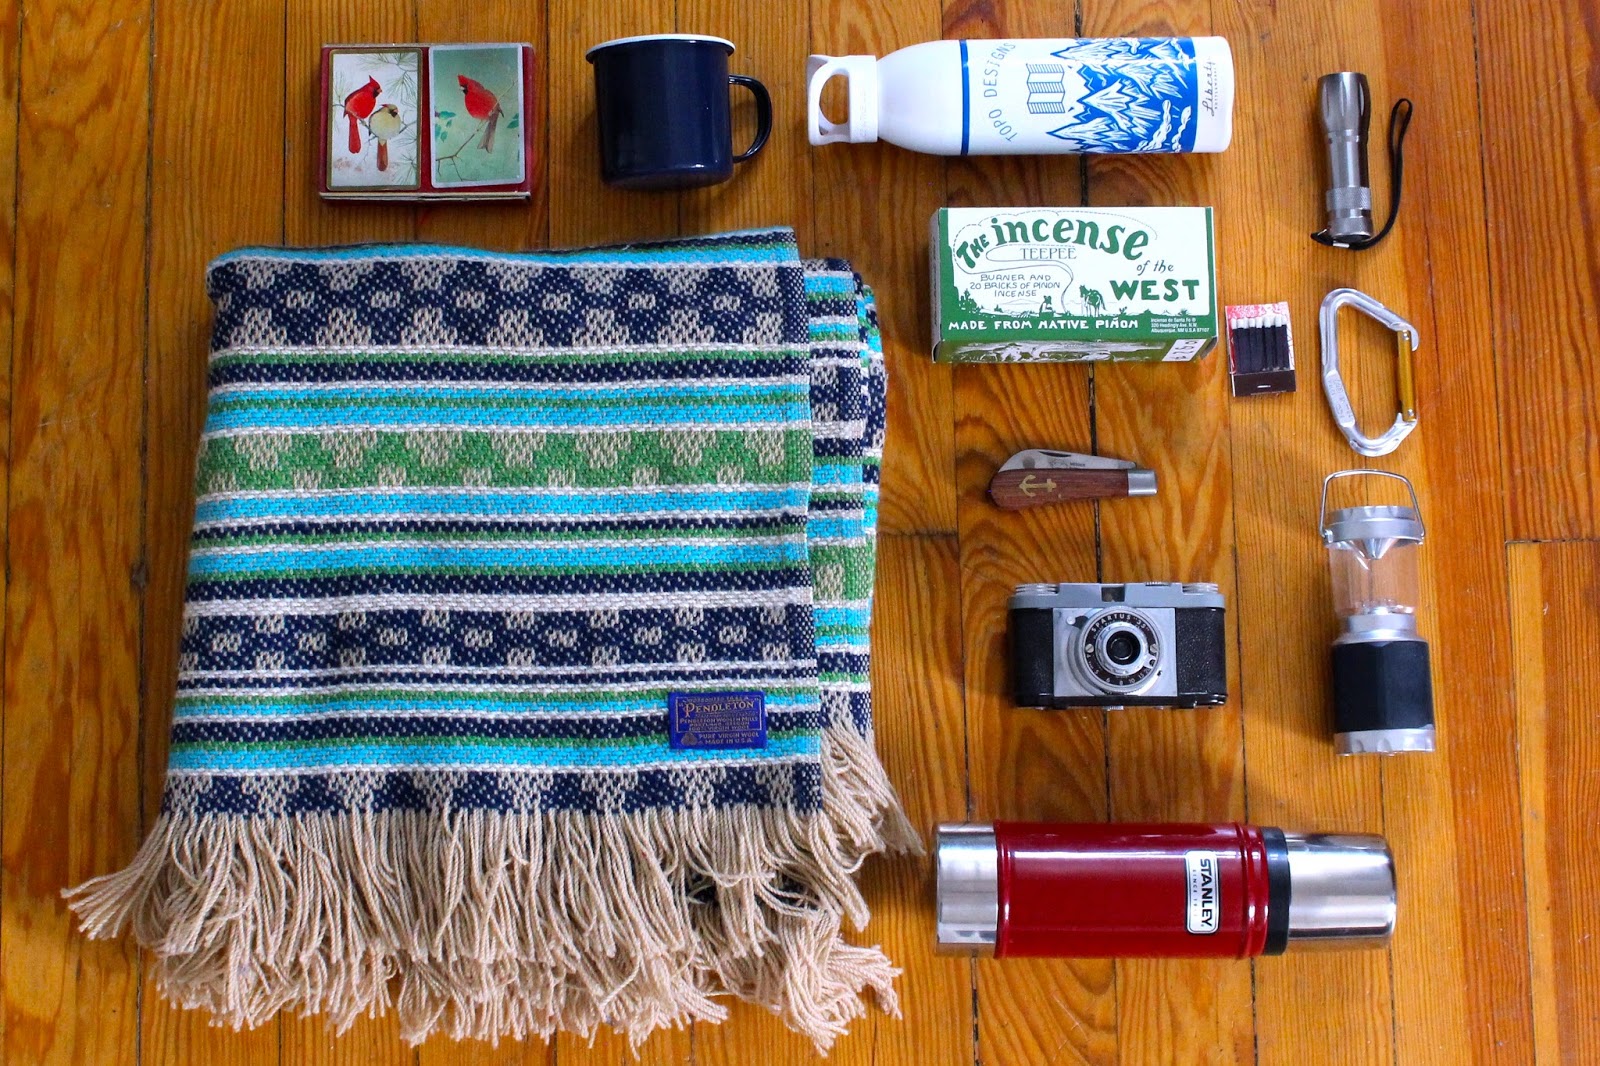
A yurt is a funny thing. It is a circular room...tent...shelter. This one had a gas fireplace, 2 sets of bunk beds, a table, and chairs. It was our house for a weekend in early January and the best way to cram 5 best friends and 3 dogs into a small space for 48 hours. This trip had a purpose. It was kind of a send off to our twenties and a celebration of what's to come. Aly (red hat) was 7 months pregnant, and the rest of us had spent the past year or so turning thirty. When I think about this trip now it makes me quite nostalgic. I didn't realize it fully at the time, but in the span of 3 and a half months a lot was about to change and I am grateful for the intimacy and togetherness of this mini adventure. We spent our time building fires, throwing knives, playing cards and chatting til the wee hours of the morning. And we ate. Man, we ate so well. Camp food is really an art form and let me tell you my friends have it down. It was all comfort food, all the time-- chili, breakfast burritos, bratwursts, hobo veggie hashFrito pies, s'mores. We did some exploring, took a couple leisurely nature hikes, but mainly we talked, and read, and spent quiet moments together.

If you are interested in renting a yurt near the Denver area I highly recommend this one! It is inexpensive, allows pets, and was a pretty quick drive from the city. They book up fast so plan ahead and get your reservations early (we had ours for 5 months). Here is the info:


Golden Gate Canyon State Park
Reverend's Ridge Campground, Yurt 1 (there are two yurts on this campground but only one allows pets, we were also close to the bathroom which was convenient)
Reservations: (303)470-1144

Thursday, April 9, 2015

Deep thought thursday + a little tip...


This quote has been running through my head a lot lately. I'll be scrolling through Instagram and it'll happen. Sometimes it's so small that I barely recognize it. It's this pang-- a feeling a jealousy, envy, comparison. Why is her life so perfect?, How did this person get my dream job?, Why am I not doing more?, etc...Ultimately, I have been working really hard to distance myself from these thoughts, or at least be more aware when these types of feelings surface. There are times when self-evaluation is healthy and there are also times when it just plain bums you out. Lately, when the later happens I've really tried to take note of it, stop what I'm doing, and give myself a compliment. Sometimes I even write it down. I know it's kinda silly but it really helps me jump right back into a more positive mindset. Do you have any tips on bouncing back from feelings of negativity or self-comparison? I'd love to hear them!

Friday, March 27, 2015

MAKE: Intro to Bread Making + Maple Oat Sandwich Bread

 If you follow me on Instagram you may have noticed that I have a bit of a bread making obsession lately. It all started last fall when I purchased a bread machine from the thrift store for a whopping $2. Thank you ARC for facilitating my new hobby. Then, Christmas rolled around and my mom got me the best present a mom can give a daughter, a KitchenAid Standing Mixer. And the baking adventures took off from there. Depending on my mood I sometimes go the bread machine route and other days prefer the dough hook method. No matter which technique I go with I am always blown away by the smells wafting from my oven and stand proud next to the final result. Making bread feels like such an accomplishment! That is not to say that I haven't had my fair share of failures. I think in order to make bread correctly you need to fail...a lot. Failing is just part of the dance in figuring out how to make the perfect dough. You know how tasting your food is really important when you cook? Well, when you make bread, touching is key. Understanding the correct texture and consistency is pretty much number one in terms of getting things right from the start. 
Feeling overwhelmed? Do what I did and watch a lot of online how-to videos and tutorials. Here are a couple good ones I've found so far: 


Actually, I am just going to give an overall shout out to The Kitchn for providing such good visuals (their website has wonderful recipestips and tutorials) that have really helped me conquer my skills over the past few months. You gotta love a good resource! I'm working on starting a series on my journeys in yeast so there is much more to come on this topic, but I wanted to start off by sharing an easy starter recipe that will make you yummy sandwiches all week long. Happy baking!

MAPLE OAT SANDWICH BREAD
Ingredients: 
Makes 1 loaf or 10 slices// Oven Temp: 350 // Prep Time: 3 hrs
  • 1½ cups bread flour (if you don't have, you can substitute all-purpose)
  • 1½ cups all-purpose flour
  • 1¼ tsp salt
  • ½ tsp cinnamon
  • ½ cup old-fashioned rolled oats (pulsed into a flour with food processor)
  • 2¼ tsp yeast
  • 3/4 cup + 2 Tbsp warm water (about 110 degrees, think bath water temp)
  • 1/4 cup melted butter
  • 1/4 cup pure maple syrup
MAKE:

1. Combine the first five ingredients: flours, salt, cinnamon, and oats in a large bowl. Wisk together. Add the yeast and mix again until everything is incorporated.
2. Add the water and maple syrup to dry ingredients and mix together using the dough hook attachment (if you don't have a mixer, use a wooden spoon). Add the butter slowly. Let the dough incorporate for for 7-8 minutes until it is tacky but not sticky and it holds together nicely. If needed, add flour, or water 1-2 Tbsp at a time. 
3. Lightly grease a bowl with oil or butter, shape the dough into a rough ball and place in the bowl. Cover the bowl with plastic wrap. Set aside to rise for 60-75 minutes.
4. When the dough is done rising, it should have just about doubled in size and should maintain an indent when poked gently. Flour a smooth surface and turn the dough out onto the counter.
5. Shape the dough*. Patting and rolling into a rough rectangle about 15x8 inches. Starting at one end, tightly roll the dough up into a log. Seal the long edge with your fingers by pinching it gently with the dough beneath it; place this seam on the bottom. Tuck the short ends under the bottom so your get a nice fat log shape. Roll the top of the dough in a pile of oats
6. Grease 8x4" loaf pan and place the dough seam-side down in the pan. Cover and set aside to rise for another 60 minutes.
7. While dough is rising, after about 50 min have elapsed, preheat oven to 350. 
8. When the bread has risen to almost even with the loaf pan height, put it into the oven and bake for 50-60 minutes, rotating once midway through, until it is a nice dark golden color on top.
9. Enjoy as morning toast, sandwich bread or as an afternoon snack!
* This is a helpful video on how to shape dough for loaf pans

Wednesday, December 17, 2014

Wandering Wednesday: Fall Adventures at The Stanley Hotel, Lily Lake, Peak to Peak, etc...

It's been a while now, as you might have guessed, since this day. But it was one for the books and one I've been meaning to share for a while now. As fall sets in and the leaves start to turn in Colorado, I always become a little anxious. There is this pull to go to the mountains-- this feeling, that if you don't go soon you might miss it, and it's not something to be missed. This year we did it right and it felt good. Somehow it all came together on a random Tuesday back in September. I think it was just a few days before my birthday in fact. 4 friends on the road from Denver to Fort Collins. We stopped many times along the way-- for photo ops, views, a manhattan at the Stanley, and once to witness an elk bugle in Estes Park (the first I've ever heard, it was fascinating!). We ended our trip dancing, which is how you should always end a good day.

Monday, November 3, 2014

Welcome, November + Halloween.

Hello, lovely folks! It's been a long time, I know. When our home computer crashed back in the spring it pretty much killed my urge to blog on the regular. I was sneaking it in, rushing to get posts completed, and, honestly, the whole thing started to feel like a burden. I never want that for this space. The short hiatus turned into a leisurely vacation, I'll admit. So much time has passed that the seasons have changed....twice (where does the time go?). So, it really only makes sense to start right here, right where we are -- the weekend after Halloween, the 3rd day of November. 

This time of year always feels pretty crazy. So many holidays, back to back to back. When one is over, it's almost a sigh of relief. I definitely feel that way about Halloween this year. We dressed up and went to a party, but we didn't make it a weekend affair like we have in years past. One night and a handful of pictures was good enough for me. I also decided to keep it simple with the costume, grabbing most of it from my closet and filling in the rest with makeup and accessories. I have to say though, it turned out alright. Rob was a ringmaster and I was a gypsy. Side by side, we really made it work, if I do say so myself! Here's a look:
The good news is....we finally scraped up enough money to replace our computer and a brand spanking new one is arriving this week! It feels good guys, it feels really good. So hopefully you will be seeing more of me :)