Tuesday, November 27, 2012

Tuesday Tunes: Eddie Vedder.

Being from Tennessee, I am ashamed to admit that I have only been to Memphis a couple of times. This is the city where my parents got engaged and spent the first few years of their marriage. It's where my mom got her first teaching job and my dad went to medical school. It's nickname alone, the Barbecued Pork Capital of the World, makes me want to drive there right now. Needless to say, my bucket list for good ol' Memphis is pretty long (ahem hello, Graceland).

In an attempt to cross a few off the list, we made a night of it last Wednesday and headed West from Nashville to, you guessed it, Memphis, to see Eddie Vedder in concert. I actually got invited as a sort of accident but was happy as can be to be spending the evening with three of my favorite people-- my sister, brother-n-law and boyfriend.

Let's start off by saying that the venue was breathtaking. The Orpheum itself is a site to see, with all it's crystal, velvet and gilded gold--chandeliers in all directions. There isn't a bad seat in this theatre and you can take my word for it because from our seats (which were indeed nosebleed) everything was still glittering and beautiful.

Vedder has a personal connection with Memphis, which is why I believe the concert was so special. As everyone cheered, clapped and stood, he started the show by saying-- "I advise y'all to sit in those nice velvety chairs, cause we're gonna be here a while." Yep....three blissful hours. I have to say that I preferred his covers and solo material to the Pearl Jam tunes, but lord knows there were plenty of people in the crowd who came only to hear those songs...I was just not one of them. These were a few of my favorite from the evening...


Monday, November 19, 2012

These days...


These days I've been getting pretty good at ignoring this little blog, aye? Not to fret. I can catch you up in a jiffy! Here I am flying home for Thanksgiving tomorrow and I haven't even posted since Halloween....I am a little sad about that. Mostly because I feel like I've been doing some really great things and I have been wanting to post; it's just been harder than usual to make the time. I would like to recap the time lost, mostly with photos but also a little description.

So this is what happened...

-- it snowed--

-- and then it melted very shortly after--

-- I made coffee with my new french-press that I'm in love with--

-- I got new glasses--

-- my mom came to visit--

-- we went to the art museum...mainly to see the Van Gogh exhibit, but also to admire fancy European furniture--

-- we sipped tea and read magazines--

-- she bought me some clothes and plants--

--  My mom is the cutest --

Also not pictured are a lot of game & movie nights, dinners with friends and cooking....because that's pretty much all I do in the winter.

Friday, November 2, 2012

It's Friday + A few more...

I thought I'd share just a couple more photos of our Halloween. I had to let you see the masks on us in all their glory and also, in action. These photos are of a few nights strung together: a dance party at Taxi on Friday night and a Halloween Bash at the Hi-Dive last Saturday. I love this first photo in our living room because it really reminds me of one of Wes Anderson's sets.

Our roommate Brittany went as Tonto from The Lone Ranger (which is coming out next summer but if you've seen any of the leaked photos she got pretty close to the real deal). Isn't her costume amazing?

and later...

Monday, October 29, 2012

DIY: Fantastic Mr. Fox Halloween.

It's hard to know where to begin here, but I'll try. It started with an idea, as most Halloween costumes do, and this web post I found. I have been wanting to be Felicity Fox from Wes Anderson's Fantastic Mr. Fox since the movie came out, and because this year I figured there would be a lot of this, I decided to go for it. After a quick discussion with Rob, who immediately agreed to be Mr. Fox, we were on our way...

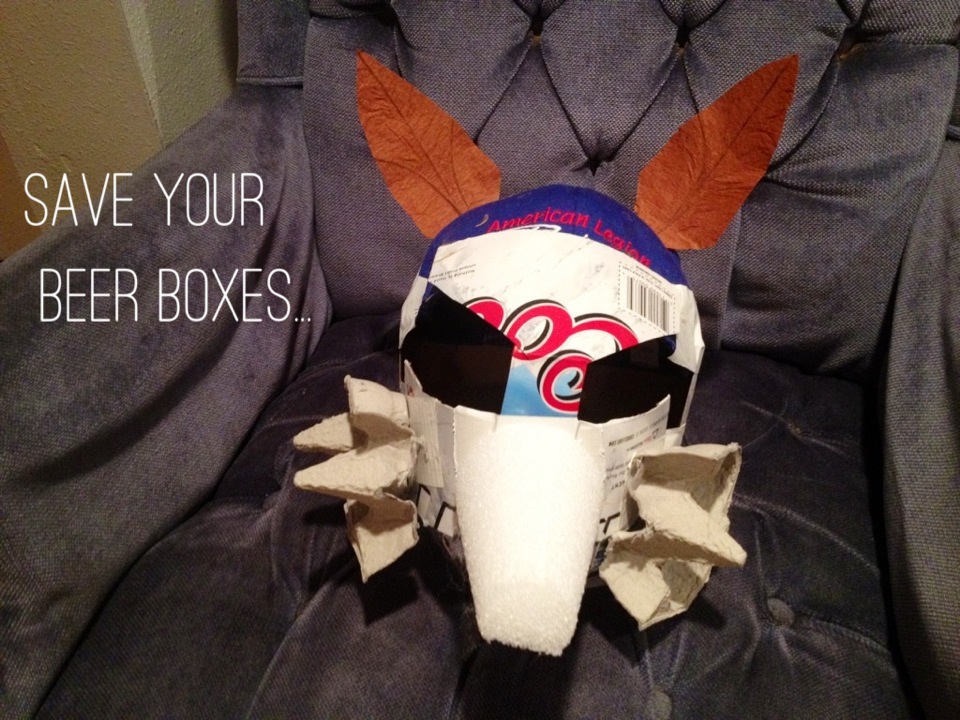
I googled several mask options, some easier than others. But in the end, we decided to go all in and do the full face mask. We weren't sure how we'd pull it off or if we would pull it off, but we'd sure try! A trip to JoAnne's fabric, followed by three full nights of crafting later, and voila! we had our masks. Wow, that made it sound so easy. In reality and I hate to say this because I do feel like it was worth it...these babies took a lot of glue gun blisters, sweat, and screaming matches to get to the final result. I seriously hesitate even doing a tutorial because I am not sure if anyone will actually 'do it themselves', but I will. If anything just to show you how crazy we really are.

So here it goes...

Materials:
Thin cardboard (from a cereal box, or in our case, a beer box)
duct tape
hot glue gun (lots of extra glue sticks!)
baseball hat (with the brim cut off)
1 bag of poly fiber fill
1/2 egg carton
1 styrofoam nose shape
2 fake leaves (optional)
2 yards of while fur fabric
1 square of black felt
1 tube of acrylic paint (color: Burnt Sienna)
1 sponge brush
1 black pom-pom


1. Make the mask 'skeleton' by using the baseball hat as the top of your head, and the thin cardboard as your face. This is a lot easier with two people because for the most accurate fit you should measure the cardboard pieces with your mask on. We made one piece that went from the brim of the hat to the nose, a large piece that went from one cheek, around the back of the neck, to the other cheek, two smaller pieces that made the eyes a little more almond shaped (not pictured) and one rectangular piece above the mouth connecting the cheek and nose piece. Make sense? Probably not, huh. I kind of wish I would have taken photos of the stencils we made but we weren't sure any of this was going to pan out at the time so I didn't. My bad.

2. Next cut the 1/2 egg carton in half once more and place on the sides of your mask where your cheeks will be. Hot glue to hold. Then get your styrofoam nose shape and cut about 1 1/2 inch off the top and cut the bottom so it is flat  (my shape was rounded and too long so I had to make these adjustments). Finally cut the fake leaves into more of an ear shape and fasten with hot glue. You can also use cardboard for this step which is what Rob did...I just kinda wanted to try the leaves because I bought them...

2.  After that, cover the parts you want to bulk up with the poly fiber fill and duck tape over. We filled in the cheeks and the back of the ears. Using the duct tape completely cover the cloth cap (we did this because we found the hot glue stuck to the duck tape much easier than the fabric for the next step)

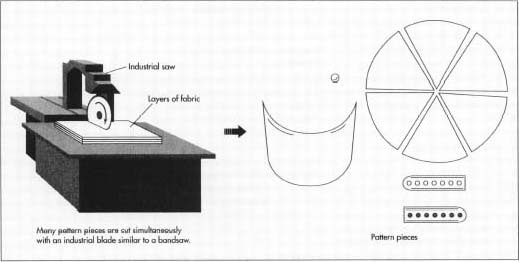
3. Then cut out six panel pieces of white fur fabric to align with the head (we copied the 'baseball hat' model and just modified the back pieces to fit around the ears) and hot glue onto mask. In one strip, cover the eyes, edge of nose and edge of cheeks (this strip will look kinda like this and is best done by first placing a rectangle piece of fabric, holding it in place with tape or small pins and tracing the eye holes, remove the fabric, cut the holes and secure with hot glue). Next cover cheeks, nose, ears and the rest of mask with white fur. Try to use as many full pieces as you can. A lot of choppy cuts will make it look sloppy.

4. Now that the the white fur is completely covering the mask, it's time to paint. I tried to mimic the look of a fox by keeping the bottom half of the face and the ears white. We watered down the paint in order to get a less concentrated color and used a sponge brush for application. The paint will drip so be careful to set the mask on something like an old sheet or a box, and watch the bottom to make sure it is not dripping onto the white fur part.

5. Finally it's time to add the finishing touches! (yay, you are almost done). Cut eyebrows and eyelashes (if you are a Mrs.) out of a piece of black felt. Using a Sharpie, draw around ears (Rob used a Sharpie for his eyebrows which you can do too if u want). Fasten black pom-pom onto the end of the nose using hot glue. AND NOW YOU ARE DONE!!!
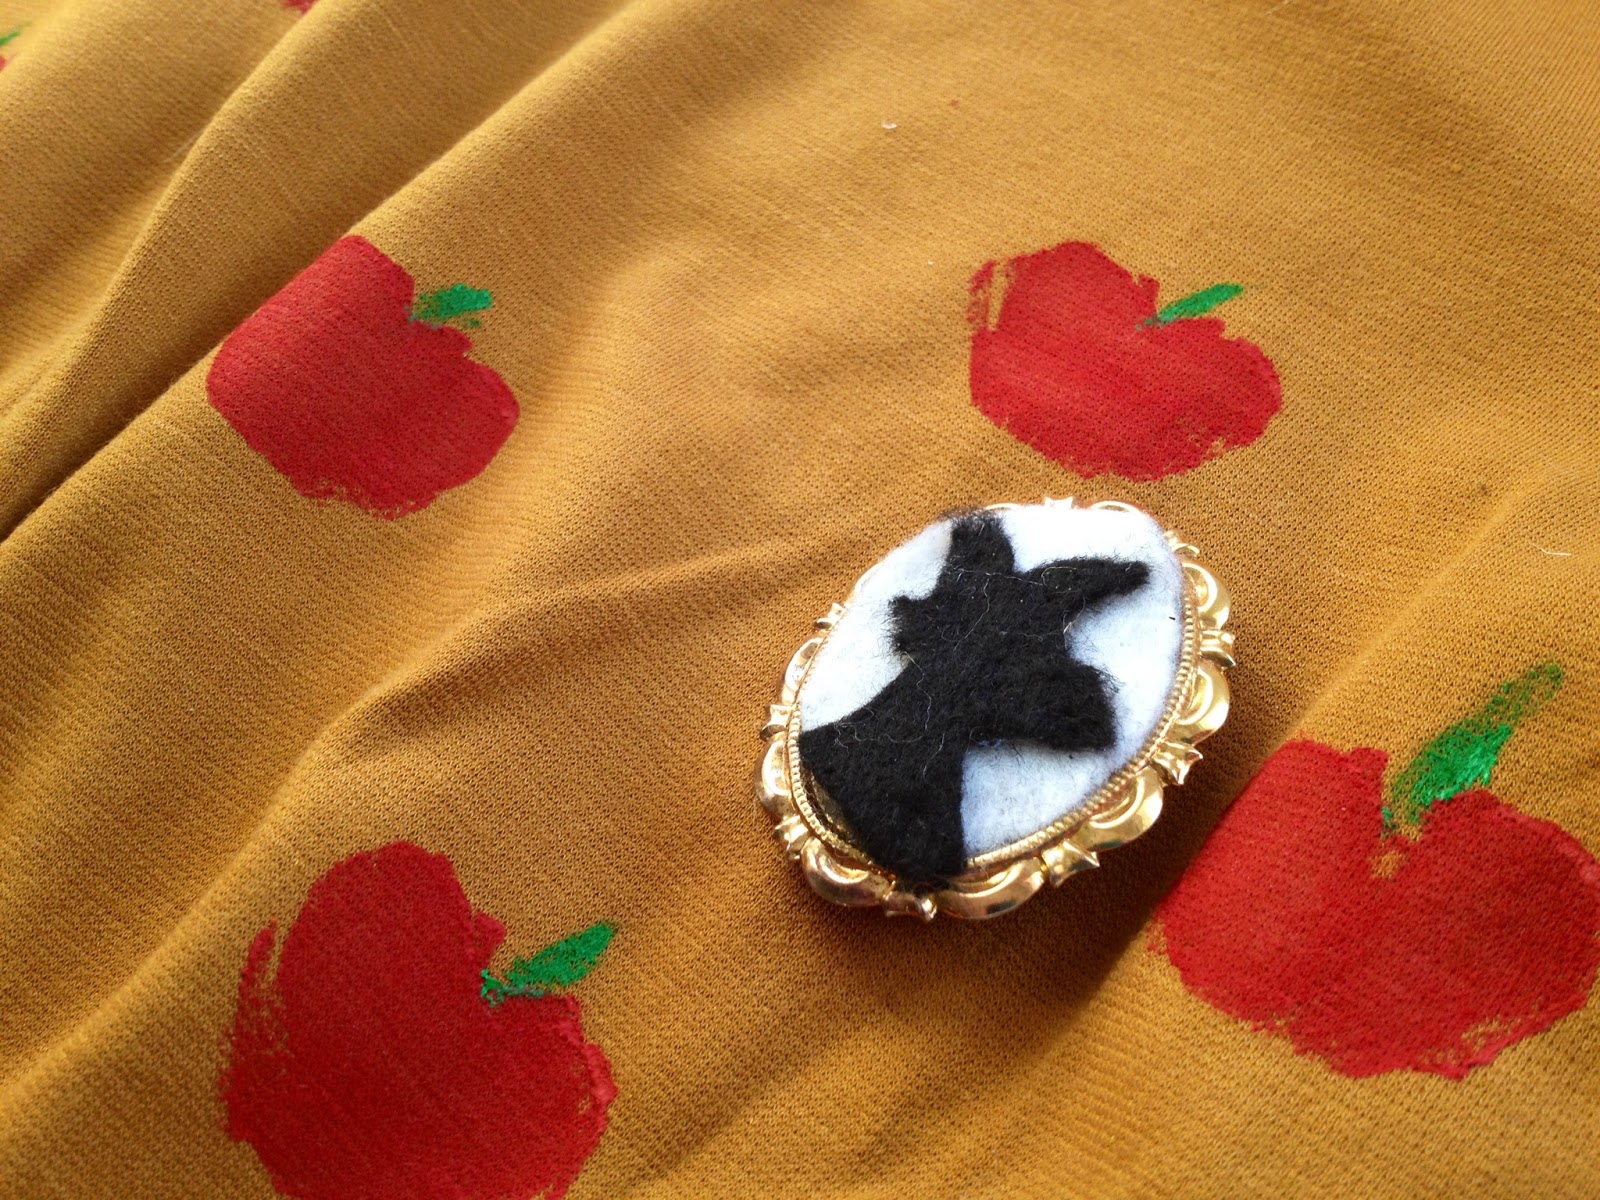
I did a couple more things to finish off my costume including stamping apples on my dress (p.s. I found the dress at Target), with a potato stamp. I made a red apple shape, covered the whole thing and then hand painted each little green stem on. I also made the brooch out of a vintage cameo brooch I found at the thrift store for 3 dollars. I simply just popped off the old cameo and felted on a new one. For the bottom part, I wore red tights and wedge oxfords. After a lot of hard work, my cussing fantastic costume was complete! I will definitely have more pictures to share tomorrow of the full head to toe look and photos of Rob and I dressed together but this is surely plenty for now! x. 

Thursday, October 25, 2012

Deep thought thursday...

A little hint: my halloween costume is a character in a Roald Dahl novel. I also love this quote I posted a while back.
(via)

Wednesday, October 24, 2012

Wandering Wednesday: The Humble Pie.

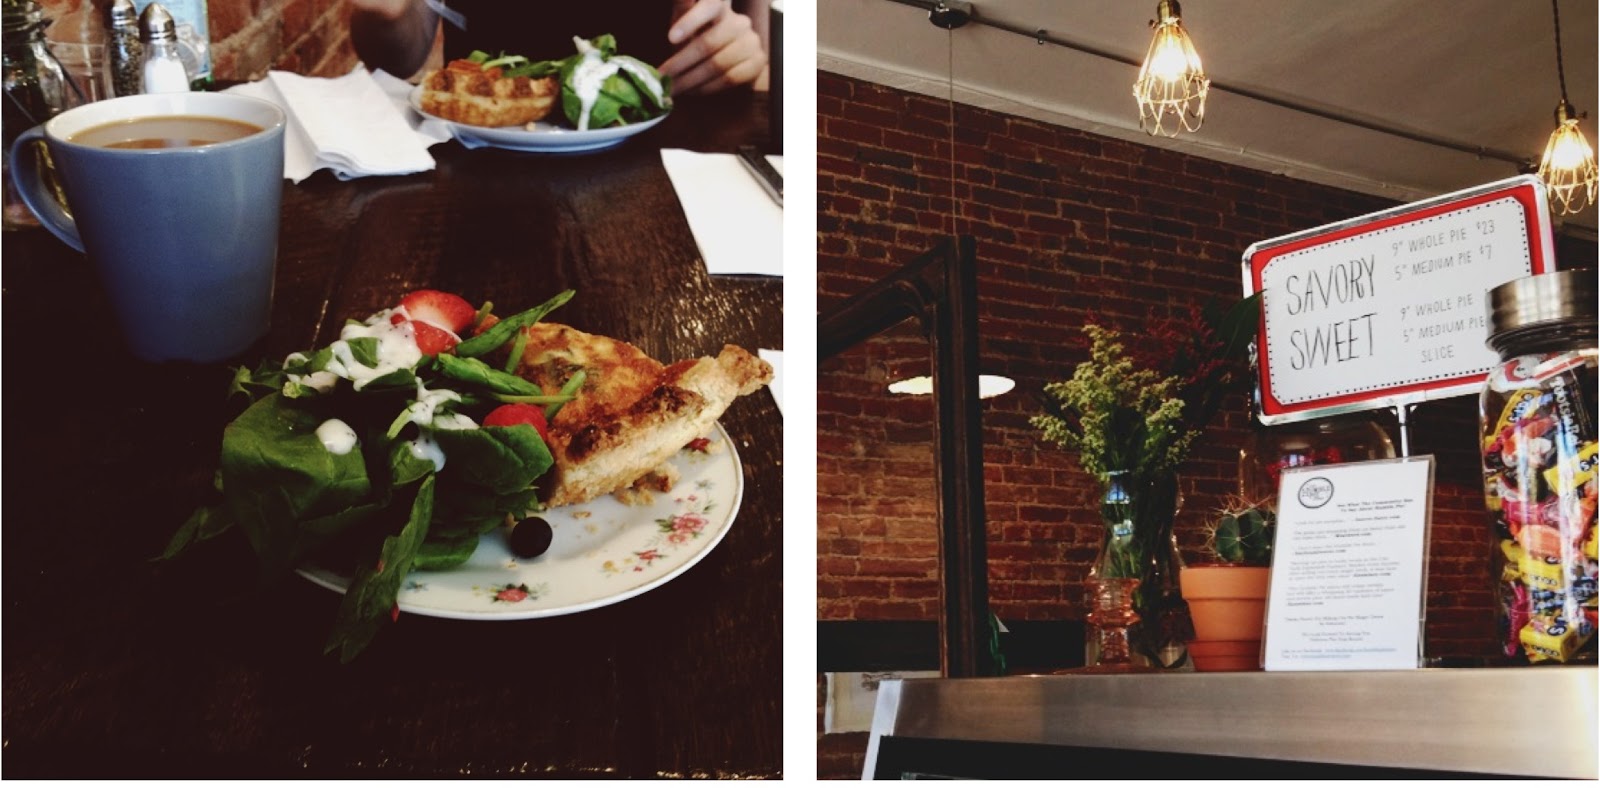
The pie is by far the star of the show at this adorable little shop that opened up in Baker just last week, but they also sell fabulous french pressed coffee (by Huckleberry Roasters), cookies, muffins and buttery croissants. It's a perfect spot for a lunch date or a random 'pop in' to satisfy your sweet tooth. My trip there last weekend involved a little bit of both. For brunch I ordered the mushroom and spinach quiche with a side salad and a cup of coffee...but I couldn't leave without trying a pie, so I bought a mini chocolate chess pie for the road. The savory and the sweet were equally impressive but I have to say the chocolate won me over in an instant. So. so. good. They really did a lovely job renovating the previous space with the recycled wood wall, pendant lamps and exposed brick. There is a warm, dare I say Southern feel to the place. I am dying to try their buttermilk banana creme, beef short rib and chicken pot pie sometime very soon! I am so excited that a cute pie store has opened its doors in Denver and it's nice to have some business in Baker that doesn't run along Broadway. Welcome, Humble Pie!

Tuesday, October 23, 2012

Tasty Tuesday: Homemade Condiments- Arugula Pesto + Classic Tomato Sauce.


If our CSA taught me one thing, it was this: when you have an abundance of a particular vegetable, make condiments. It is a terrific way to preserve the life of your vegetables and keep the waste to a minimum. Also, who doesn't love homemade jars of pesto and tomato sauce lying around the house? Bonus: they make wonderful gifts! For a few weeks we were getting pounds of arugula...yes pounds and I was desperate not to see it thrown in the trash. The great thing about pesto is it's so versatile. You can basically substitute any leafy green and whatever nut you'd like...the combinations are endless! Thus, our Arugula Pesto was born....well more like discovered. The arugula adds a lovely peppery taste that is to die for and we used walnuts instead of pine nuts to save a little $. Yep, it turned out super tasty. Hint: add a touch of grated lemon rind for a tiny bit of citrus flavor....

Arugula Pesto
adapted from Simply Recipes

2 cups of packed arugula leaves, stems removed**
1/2 cup of shelled walnuts
1/2 cup fresh Parmesan cheese
1/2 cup extra virgin olive oil
6 garlic cloves, unpeeled
1/2 garlic clove peeled and minced
1/2 tsp. salt
a pinch of gratedlemon rind (optional)


1. Heat 1 tsp of oil in a small skillet over medium heat. Toss in 6 garlic cloves with their peels still on and cook until slightly browned, about 10 min. Remove from pan, cool and peel skins off

2. Toast the walnuts in the same small skillet, adding a bit more oil of necessary, until browned. About 5 min.

3. In the food processor, combine arugula, roasted garlic (plus 1/2 a clove of raw garlic), toasted walnuts, parmesan cheese and salt and pepper. Pulse these ingredients while drizzling in olive oil through the top gradually. (Note: I don't usually measure the olive oil, I kind of just eyeball it. I prefer my pesto to be thick and not too oily but it's a matter of taste so you may want to pour the oil in slowly and stop and give it a taste from time to time)

** Do not skip this step, leaving on the stems on will cause a bitter, unpleasant taste 

Cooking, for me, is a lot about overcoming small fears. I'm just going to say this...and you don't have to believe me, but peeling tomatoes is really easy....and actually sort of fun. I too had doubts but seriously, once you do it one time you will see, it's not so bad. This recipe lets the ingredients speak for themselves and that's why I love it. It's a classic Italian traditional tomato sauce. No fluff. Also If you have any trouble or just need more reassurance, there is this video on blanching tomatoes that I found really helpful. 

Classic Tomato Sauce
from Food52

2 pounds fresh, ripe tomatoes, peeled (see video for guidance, link above)
5 tablespoons butter
1 medium onion, peeled and cut in half
Salt to taste
1. Place the prepared fresh tomatoes in a saucepan, add the butter, onion, and salt, and cook uncovered at a very slow, but steady simmer for about 45 minutes, or until it is thickened to your liking and the fat floats free from the tomato.
2. Stir from time to time, mashing up any large pieces of tomato with the back of a wooden spoon. Taste and correct for salt.