It's hard to know where to begin here, but I'll try. It started with an idea, as most Halloween costumes do, and
this web post I found. I have been wanting to be Felicity Fox from Wes Anderson's
Fantastic Mr. Fox since the movie came out, and because this year I figured there would be
a lot of this, I decided to go for it. After a quick discussion with Rob, who immediately agreed to be Mr. Fox, we were on our way...
I googled several mask options, s
ome easier than others. But in the end, we decided to go all in and do the full face mask. We weren't sure how we'd pull it off or
if we would pull it off, but we'd sure try! A trip to JoAnne's fabric, followed by three full nights of crafting later, and voila! we had our masks. Wow, that made it sound so easy. In reality
and I hate to say this because I do feel like it was worth it...these babies took a lot of glue gun blisters, sweat, and screaming matches to get to the final result. I seriously hesitate even doing a tutorial because I am not sure if anyone will actually 'do it themselves', but I will. If anything just to show you how crazy we really are.
So here it goes...
Materials:
Thin cardboard (from a cereal box, or in our case, a beer box)
duct tape
hot glue gun (lots of extra glue sticks!)
baseball hat (with the brim cut off)
1 bag of poly fiber fill
1/2 egg carton
1 styrofoam nose shape
2 fake leaves (optional)
2 yards of while fur fabric
1 square of black felt
1 tube of acrylic paint (color:
Burnt Sienna)
1 sponge brush
1 black pom-pom
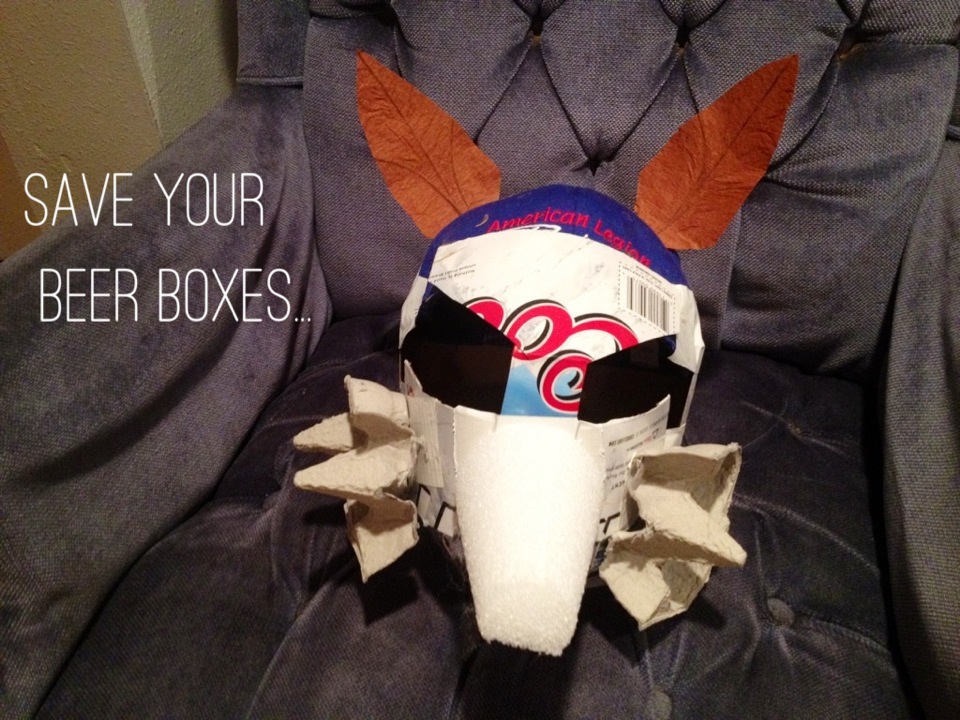
1. Make the mask 'skeleton' by using the baseball hat as the top of your head, and the thin cardboard as your face. This is a lot easier with two people because for the most accurate fit you should measure the cardboard pieces with your mask on. We made one piece that went from the brim of the hat to the nose, a large piece that went from one cheek, around the back of the neck, to the other cheek, two smaller pieces that made the eyes a little more almond shaped (not pictured) and one rectangular piece above the mouth connecting the cheek and nose piece. Make sense? Probably not, huh. I kind of wish I would have taken photos of the stencils we made but we weren't sure any of this was going to pan out at the time so I didn't. My bad.
2. Next cut the 1/2 egg carton in half once more and place on the sides of your mask where your cheeks will be. Hot glue to hold. Then get your styrofoam nose shape and cut about 1 1/2 inch off the top and cut the bottom so it is flat (my shape was rounded and too long so I had to make these adjustments). Finally cut the fake leaves into more of an ear shape and fasten with hot glue. You can also use cardboard for this step which is what Rob did...I just kinda wanted to try the leaves because I bought them...
2. After that, cover the parts you want to bulk up with the poly fiber fill and duck tape over. We filled in the cheeks and the back of the ears. Using the duct tape completely cover the cloth cap (we did this because we found the hot glue stuck to the duck tape much easier than the fabric for the next step)
3. Then cut out six panel pieces of white fur fabric to align with the head (we copied the
'baseball hat' model and just modified the back pieces to fit around the ears) and hot glue onto mask. In one strip, cover the eyes, edge of nose and edge of cheeks (this strip will
look kinda like this and is best done by first placing a rectangle piece of fabric, holding it in place with tape or small pins and tracing the eye holes, remove the fabric, cut the holes and secure with hot glue). Next cover cheeks, nose, ears and the rest of mask with white fur. Try to use as many full pieces as you can. A lot of choppy cuts will make it look sloppy.
4. Now that the the white fur is completely covering the mask, it's time to paint. I tried to mimic the look of a fox by keeping the bottom half of the face and the ears white. We watered down the paint in order to get a less concentrated color and used a sponge brush for application. The paint will drip so be careful to set the mask on something like an old sheet or a box, and watch the bottom to make sure it is not dripping onto the white fur part.
5. Finally it's time to add the finishing touches! (yay, you are
almost done). Cut eyebrows and eyelashes (if you are a Mrs.) out of a piece of black felt. Using a Sharpie, draw around ears (Rob used a Sharpie for his eyebrows which you can do too if u want). Fasten black pom-pom onto the end of the nose using hot glue. AND NOW YOU ARE DONE!!!
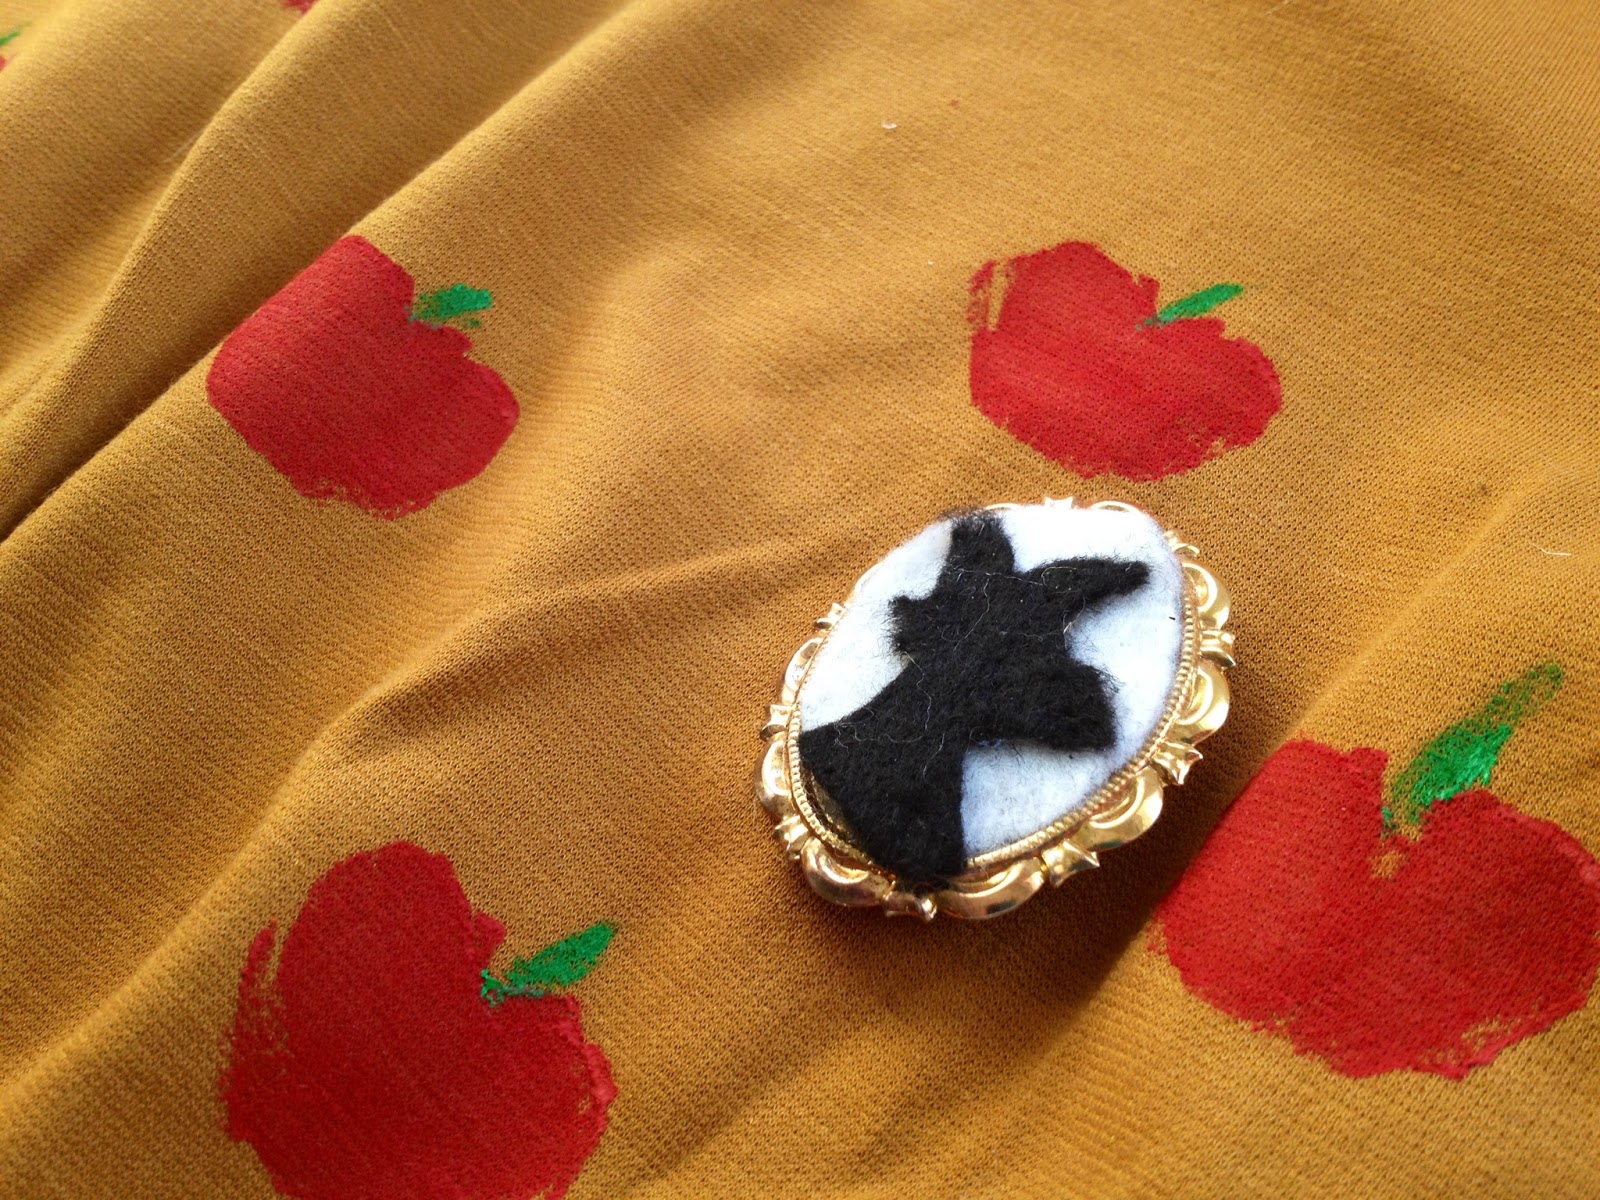
I did a couple more things to finish off my costume including stamping apples on my dress (p.s. I found the dress at Target), with a potato stamp. I made a red apple shape, covered the whole thing and then hand painted each little green stem on. I also made the brooch out of a vintage cameo brooch I found at the thrift store for 3 dollars. I simply just popped off the old cameo and felted on a new one. For the bottom part, I wore red tights and wedge oxfords. After a lot of hard work, my
cussing fantastic costume was complete! I will definitely have more pictures to share tomorrow of the full head to toe look and photos of Rob and I dressed together but this is surely plenty for now! x.